
1 Activation
Since version midas Civil NX 2024 and newer, the API has been added, and due to this new possibility, the new link to IDEA Statica Checkbot was created.
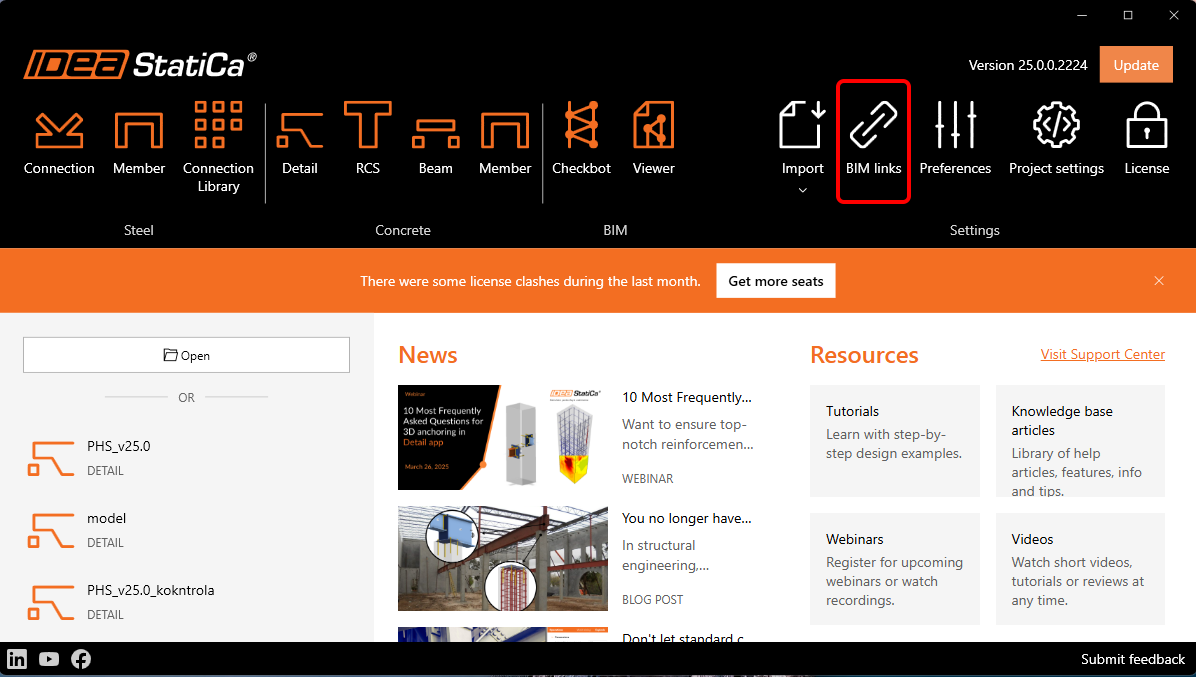
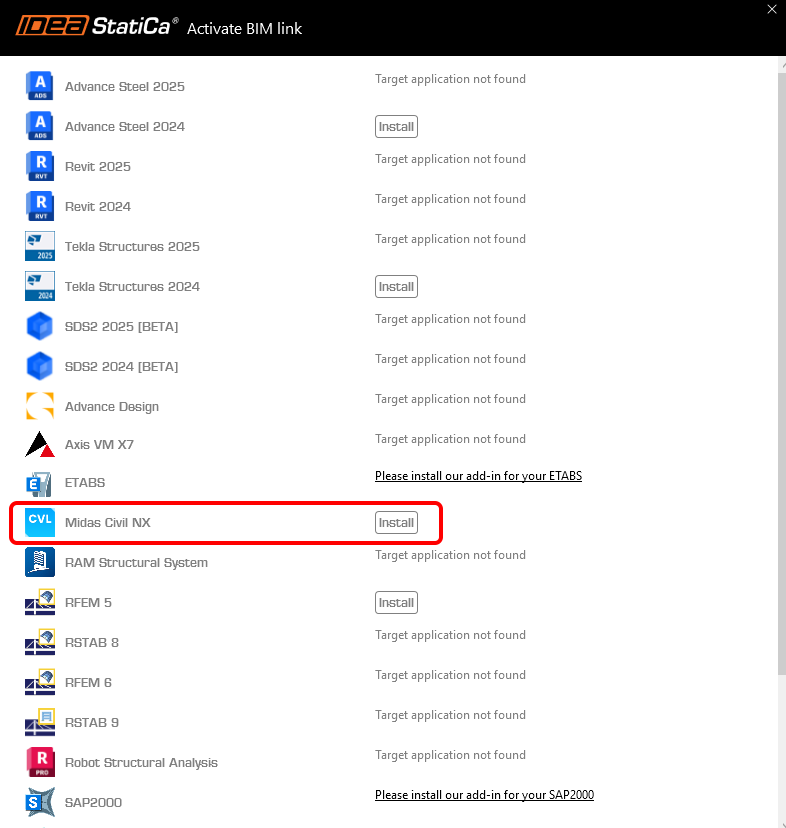
In the following figures, you can see how to activate the link.
Press YES when the User Account Control asks for permission to make changes to your device.
Install midas Civil NX BIM link.
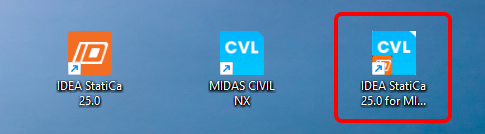
Subsequently, the new icon appears on the Desktop.
Now run midas Civil NX and open the new or existing project.
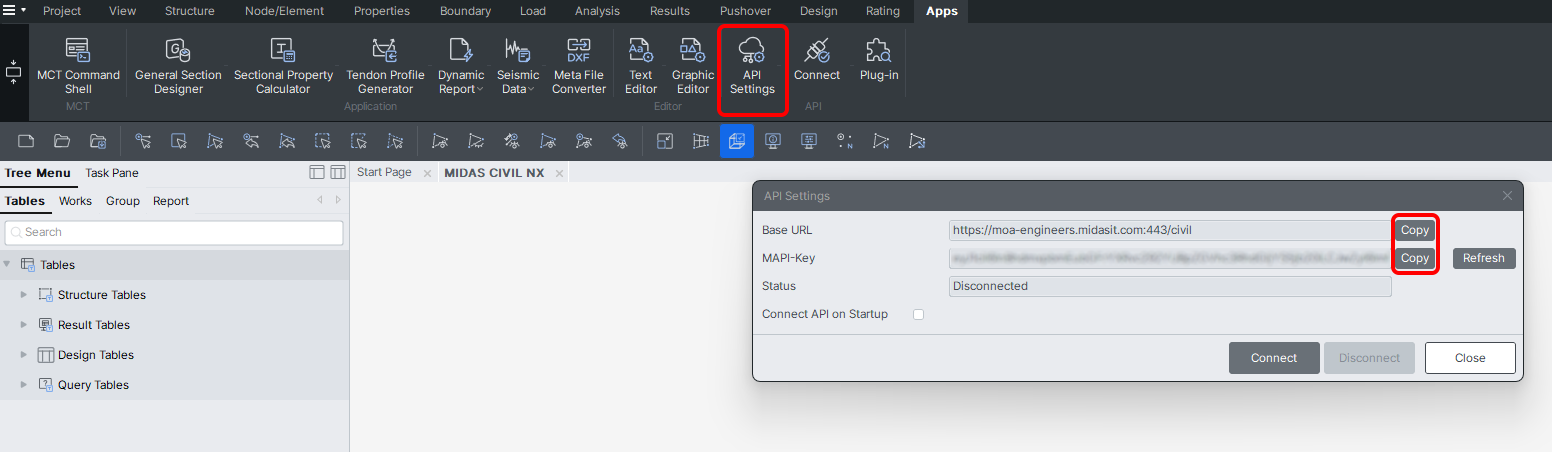
In the ribbon, in the last tab APPs, there is API Settings, where the Base URL and MAPI-Key are given. At first start, the MAPI-key is blank and it is essential to generate it by clicking on the Refresh button. The MAPI-Key is unique for every user and shouldn´t be shared with others. The Copy button can be used to copy them.
Connect to the API.
The API is connected when the Tab changed to "Disconnect".

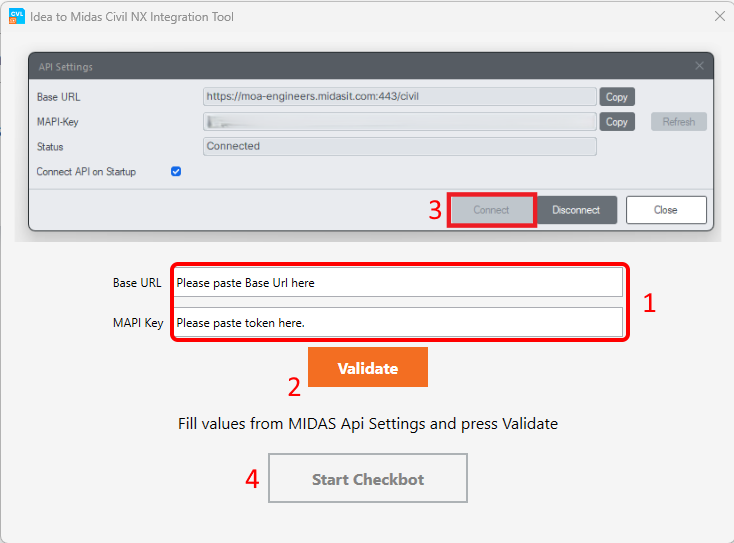
Open the IDEA to MIDAS CIVIL NX Integration Tool from the Desktop and paste the copied Base URL and MAPI Key from your opened MIDAS CIVIL NX project (1). Then, Validate (2) and connect to Civil NX (3). After that, Start Checkbot (4).
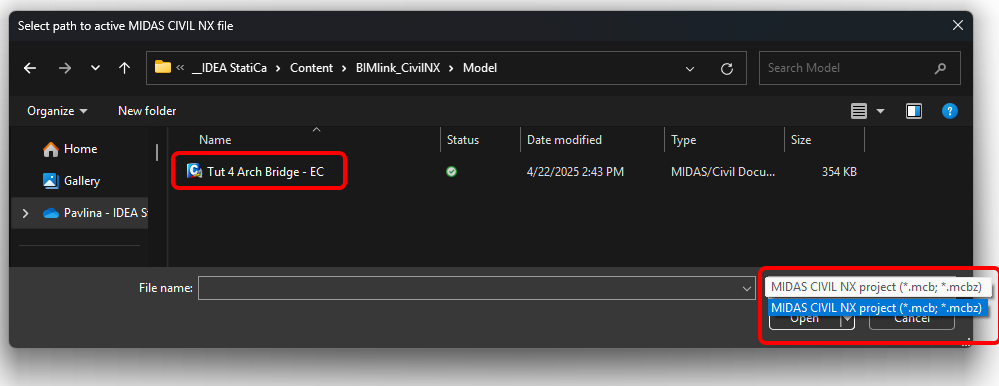
Select path to active MIDAS CIVIL NX file and open it. Both .mcb and .mcbz file formats can be chosen.
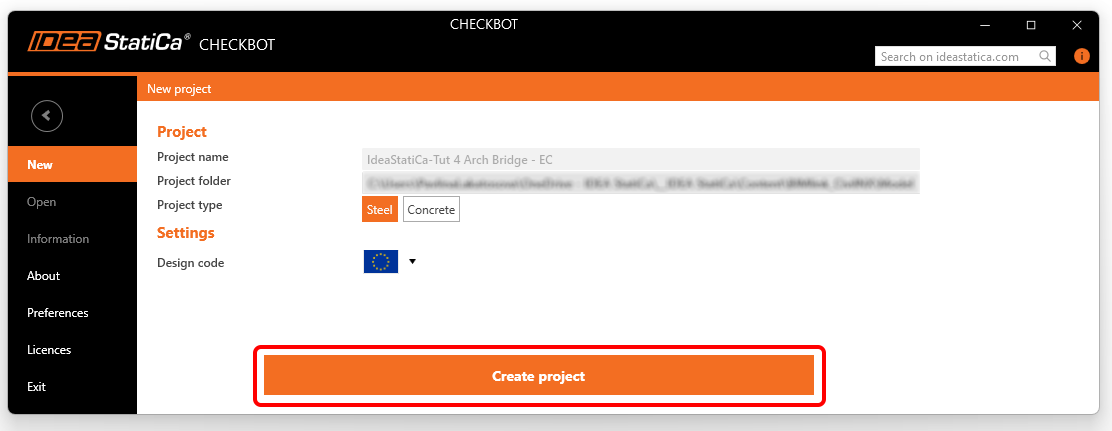
Create the New project in Checkbot.
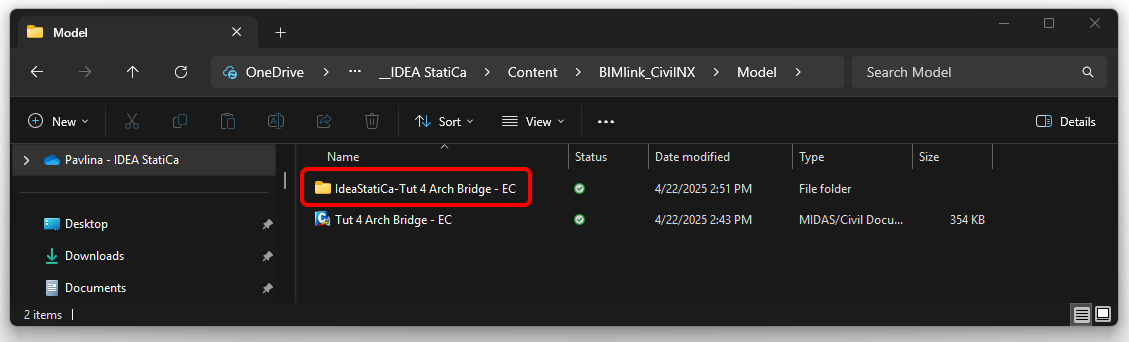
The Checkbot folder is created in the same folder as the MIDAS CIVIL NX project.
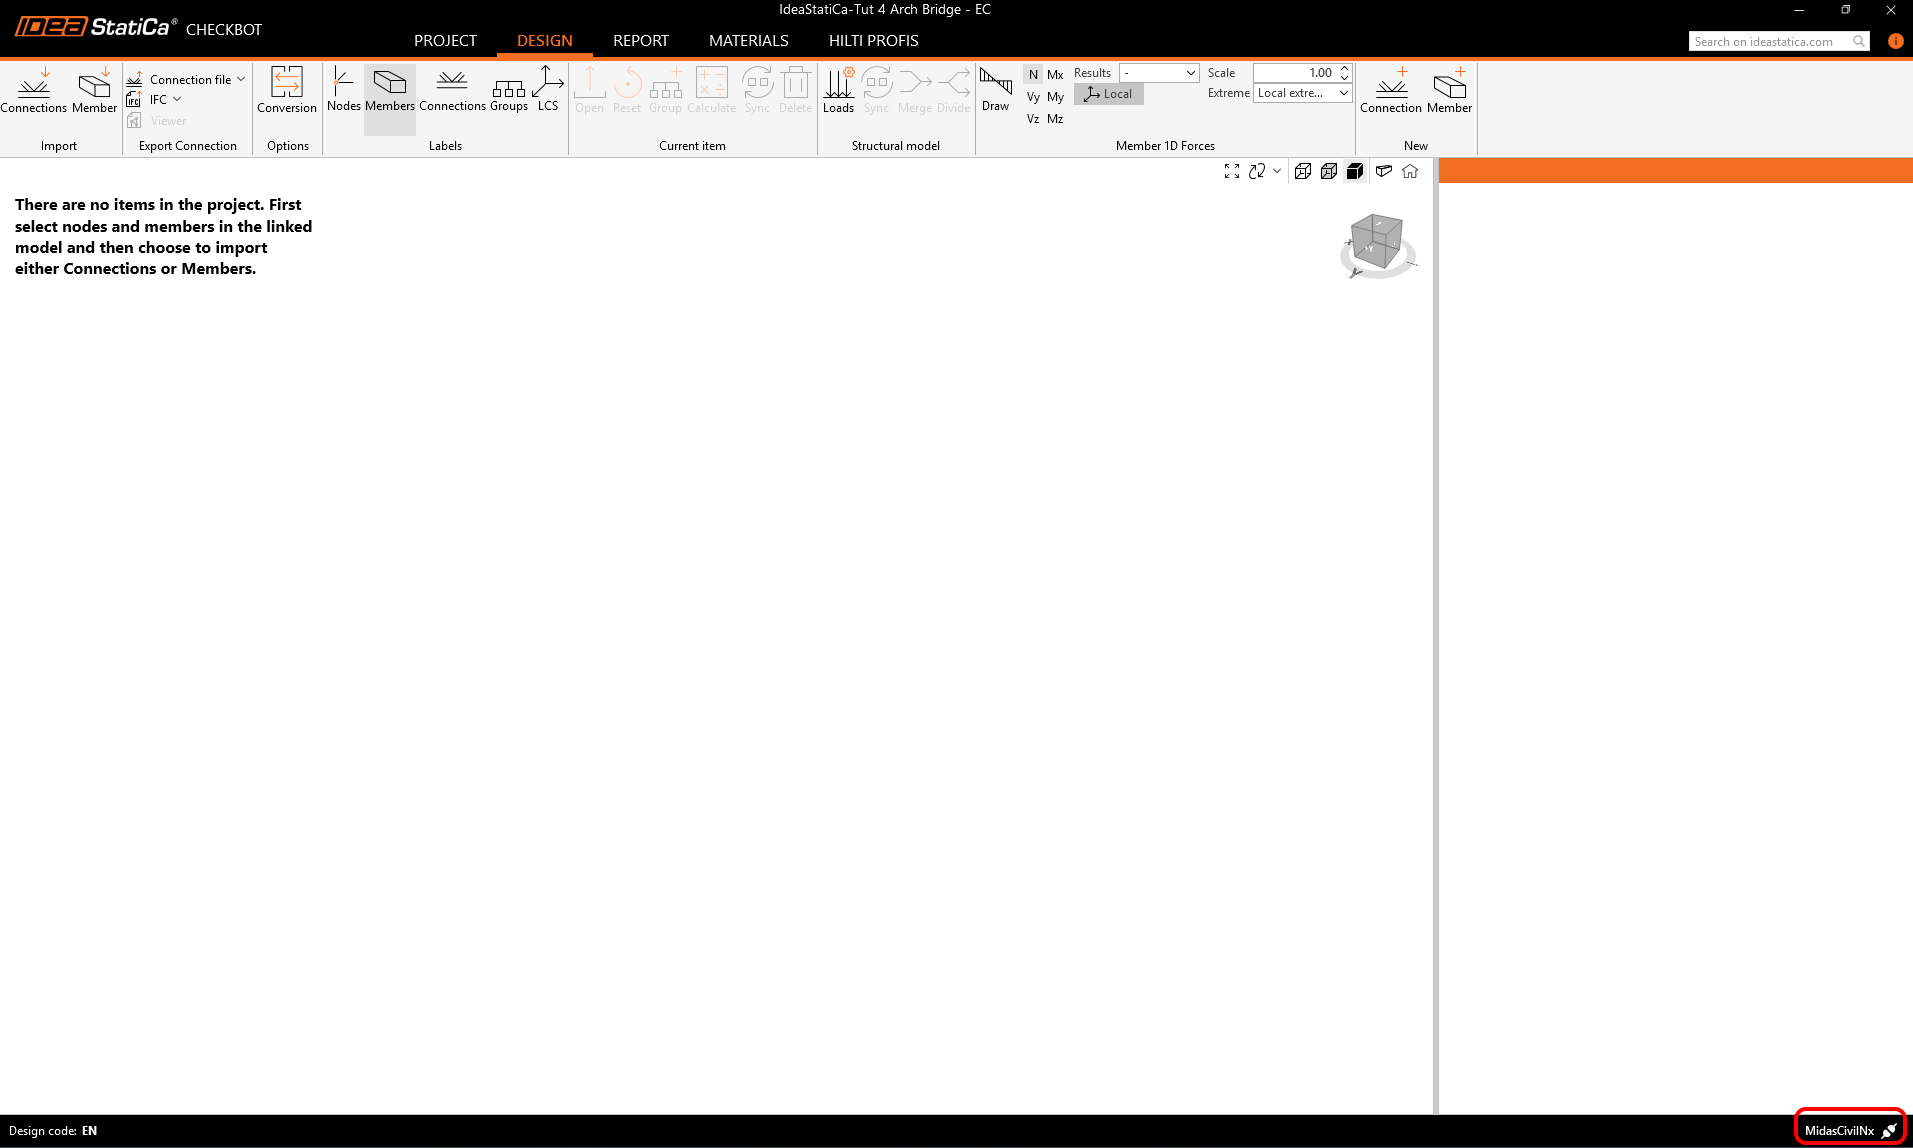
After that, a new project is opened. The Checkbot is connected to Civil NX (look at the bottom right corner).
2 Import to Checkbot
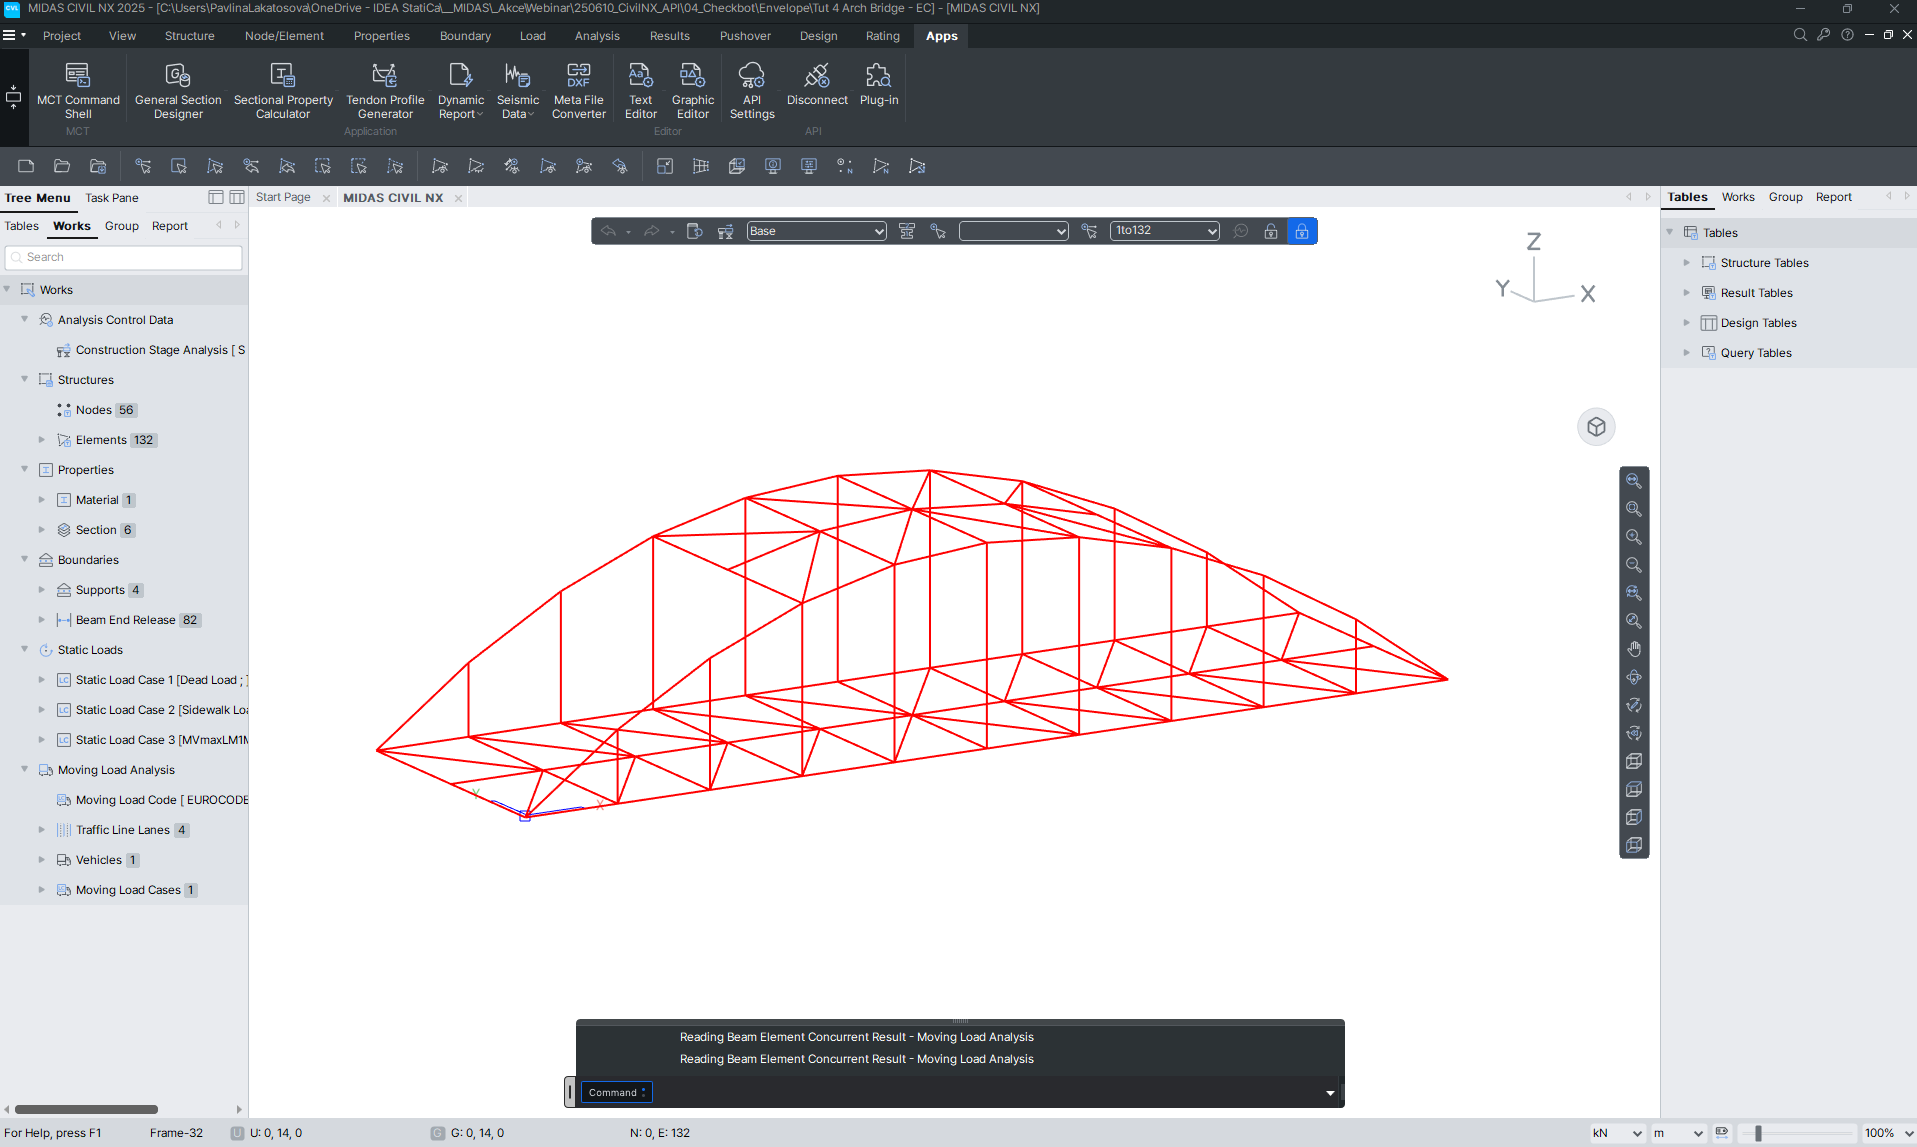
At first, run the linear analysis in Civil NX to get the internal forces.
After analysis, you can import the whole model. To do so, select all the elements.
Click on the Connections Import tab.

The whole structure has been imported.
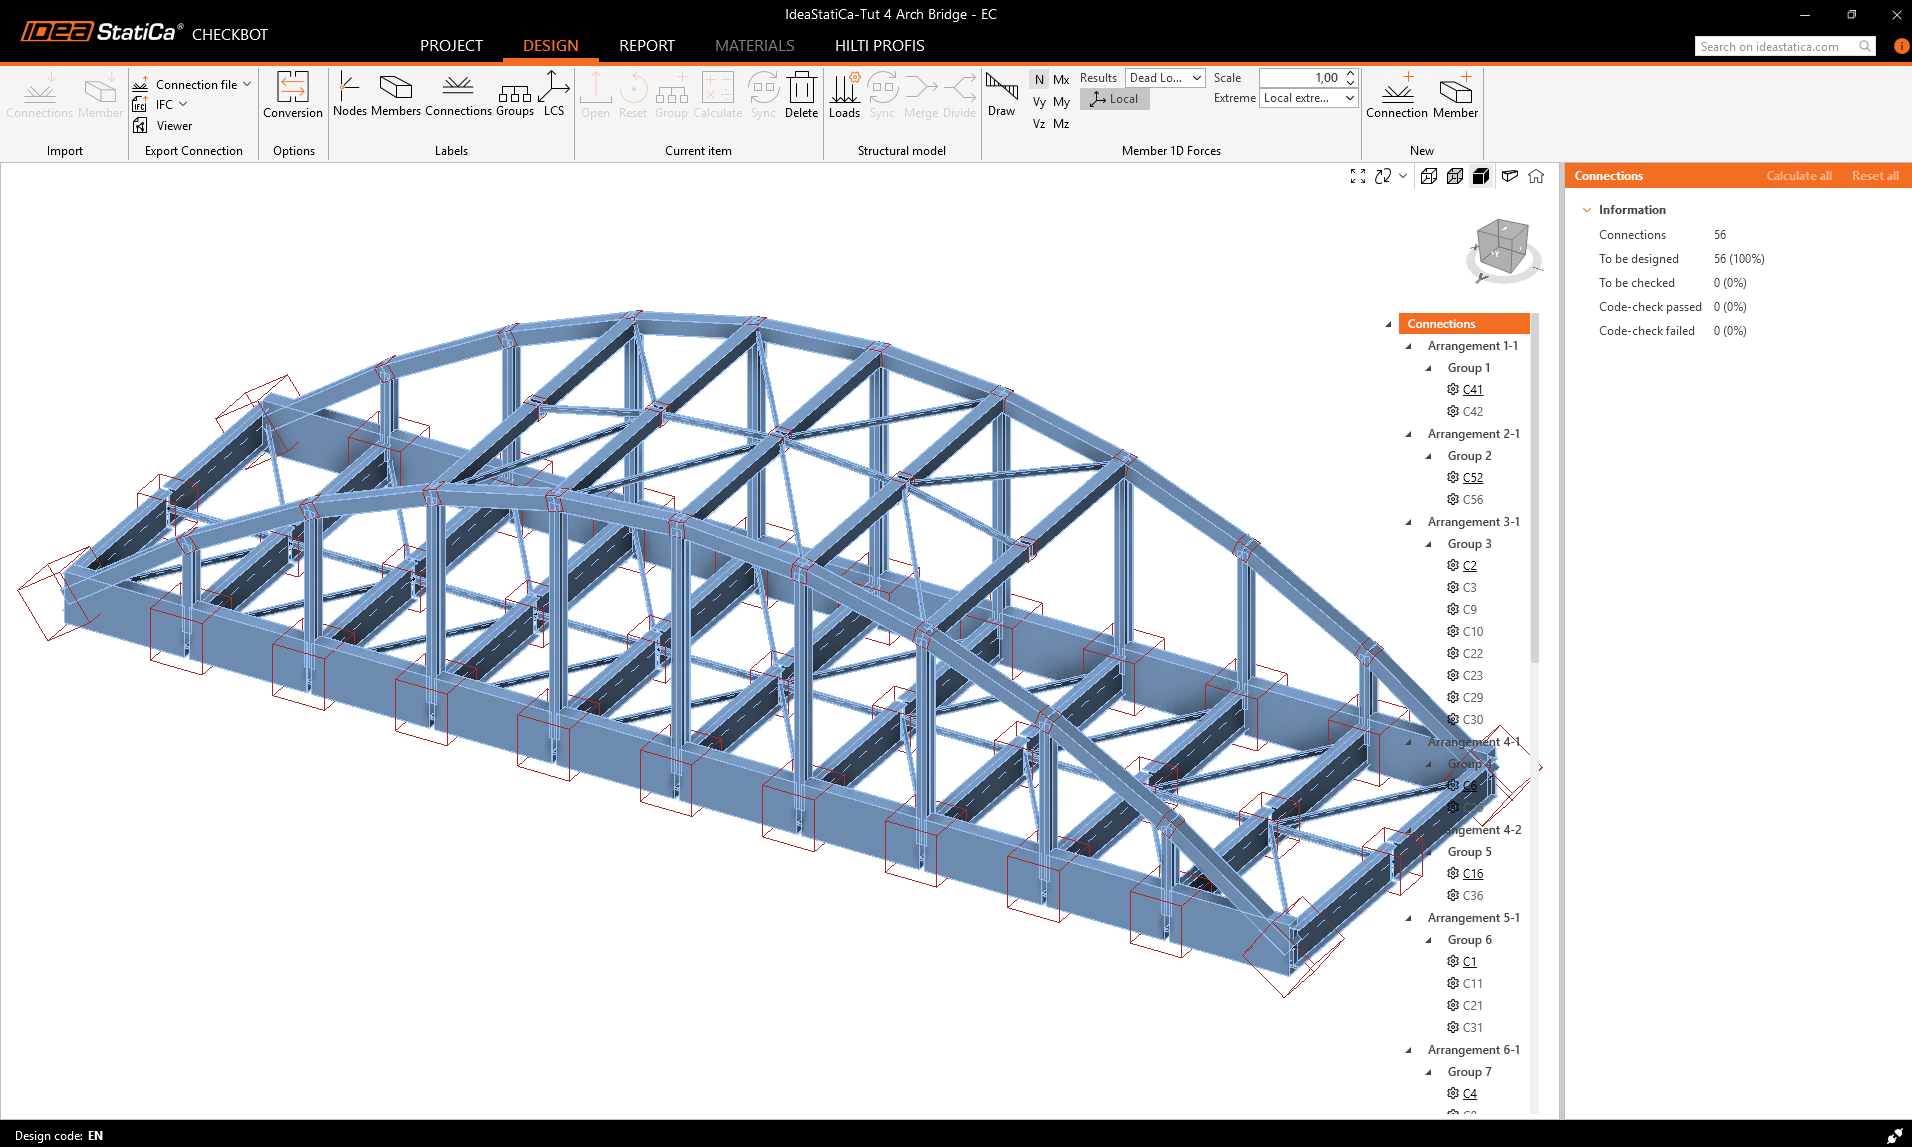
Alternatively, the connections could be imported one by one by selecting only one or more connections. The connections of the same typology are sorted into one arrangement or group.
More about the workflow in the Checkbot, see the article Checkbot – bulk BIM workflows.
Also see the known limitations of the BIM link from MIDAS to Checkbot.
Important note
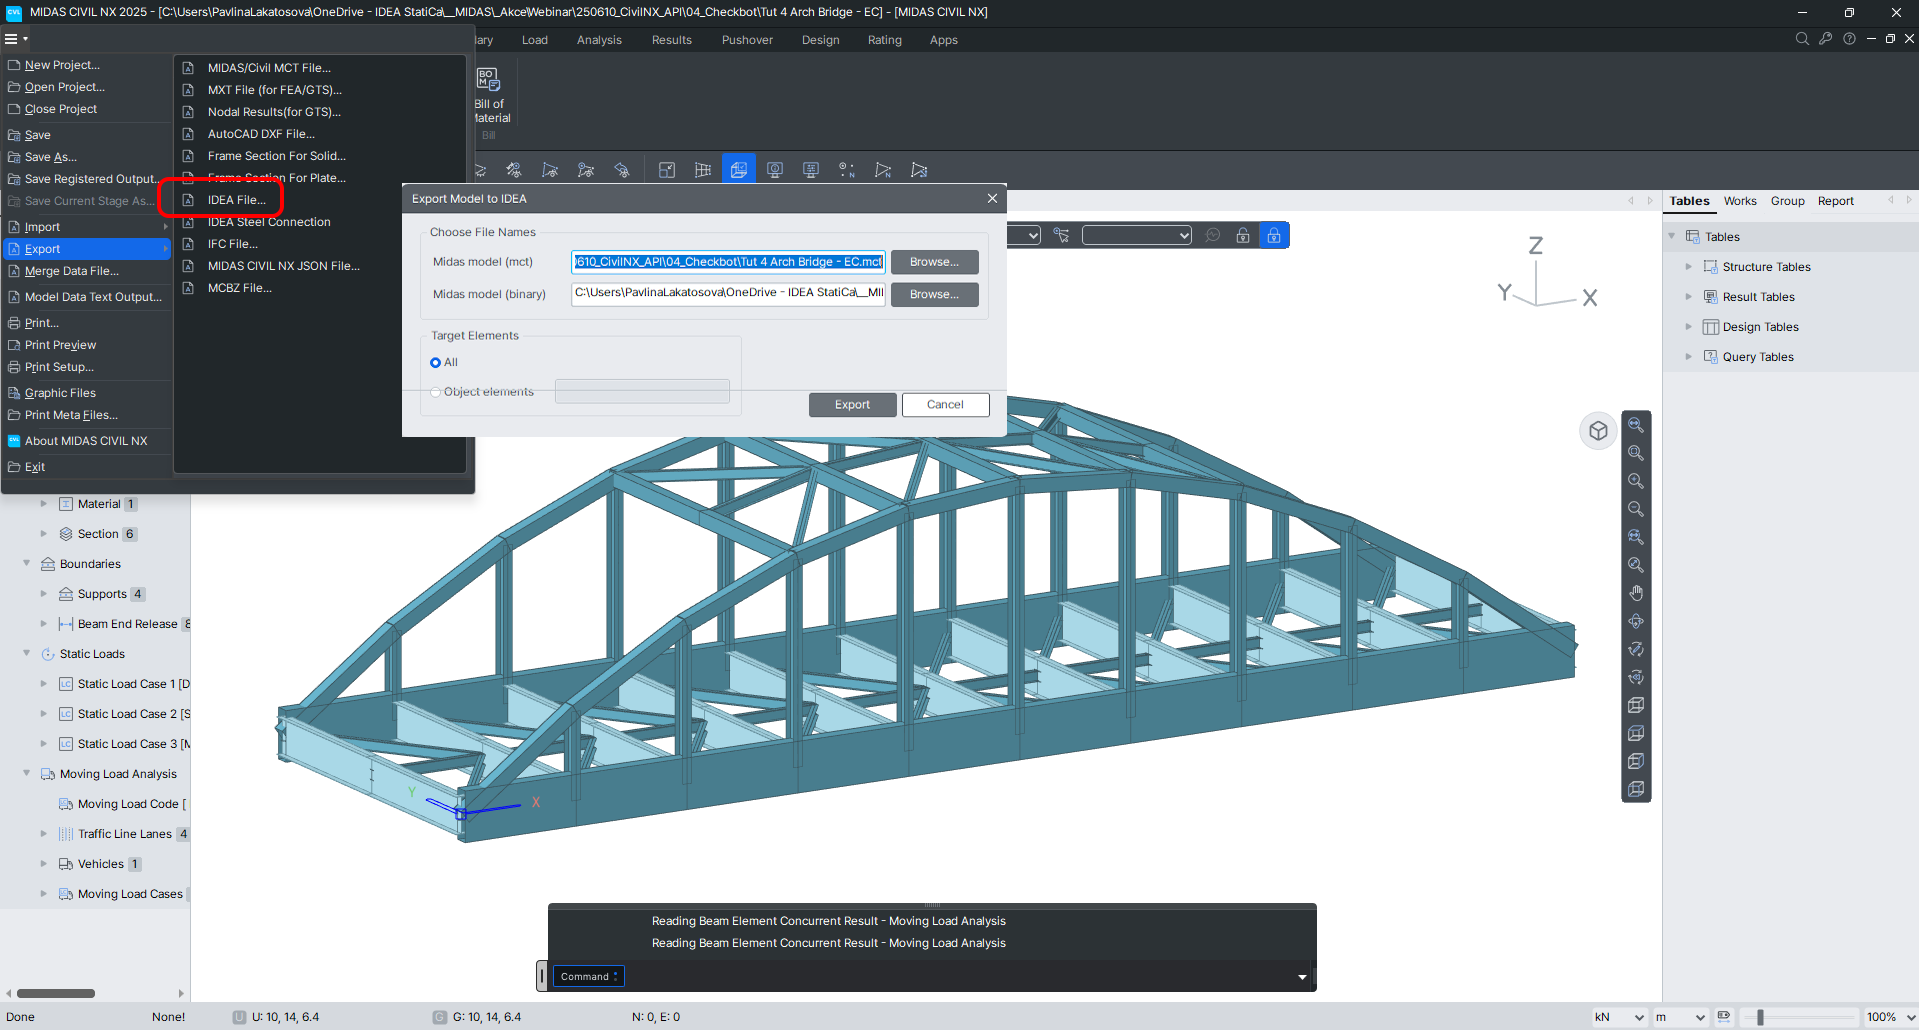
The Civil NX still allows the export to IDEA StatiCa BIM for the detailed check of the concrete sections.
BIM link pro propojení midas Civil a IDEA StatiCa - Příklad
Learn how to use IDEA StatiCa effectively with our self-paced e-learning courses
Start learning